How I Create Modern Tinwork: From Inspiration to Finished Piece
Introduction
Every piece of tinwork I create starts with a story. My approach combines traditional techniques with modern tools like SketchUp for precise design planning, setting it apart from conventional methods. Sometimes, it's inspired by a vibrant tile I found at an estate sale, other times by images in my collection of books ranging from Hispanic furniture, homes of Mexico, and New Mexican Tinwork. My process blends the heritage of traditional tinwork with a modern perspective, making each piece a unique reflection of craft and culture.
In this post, I'll take you behind the scenes and share how I transform simple materials into one-of-a-kind tinwork pieces for your home.
Step 1: Finding Inspiration
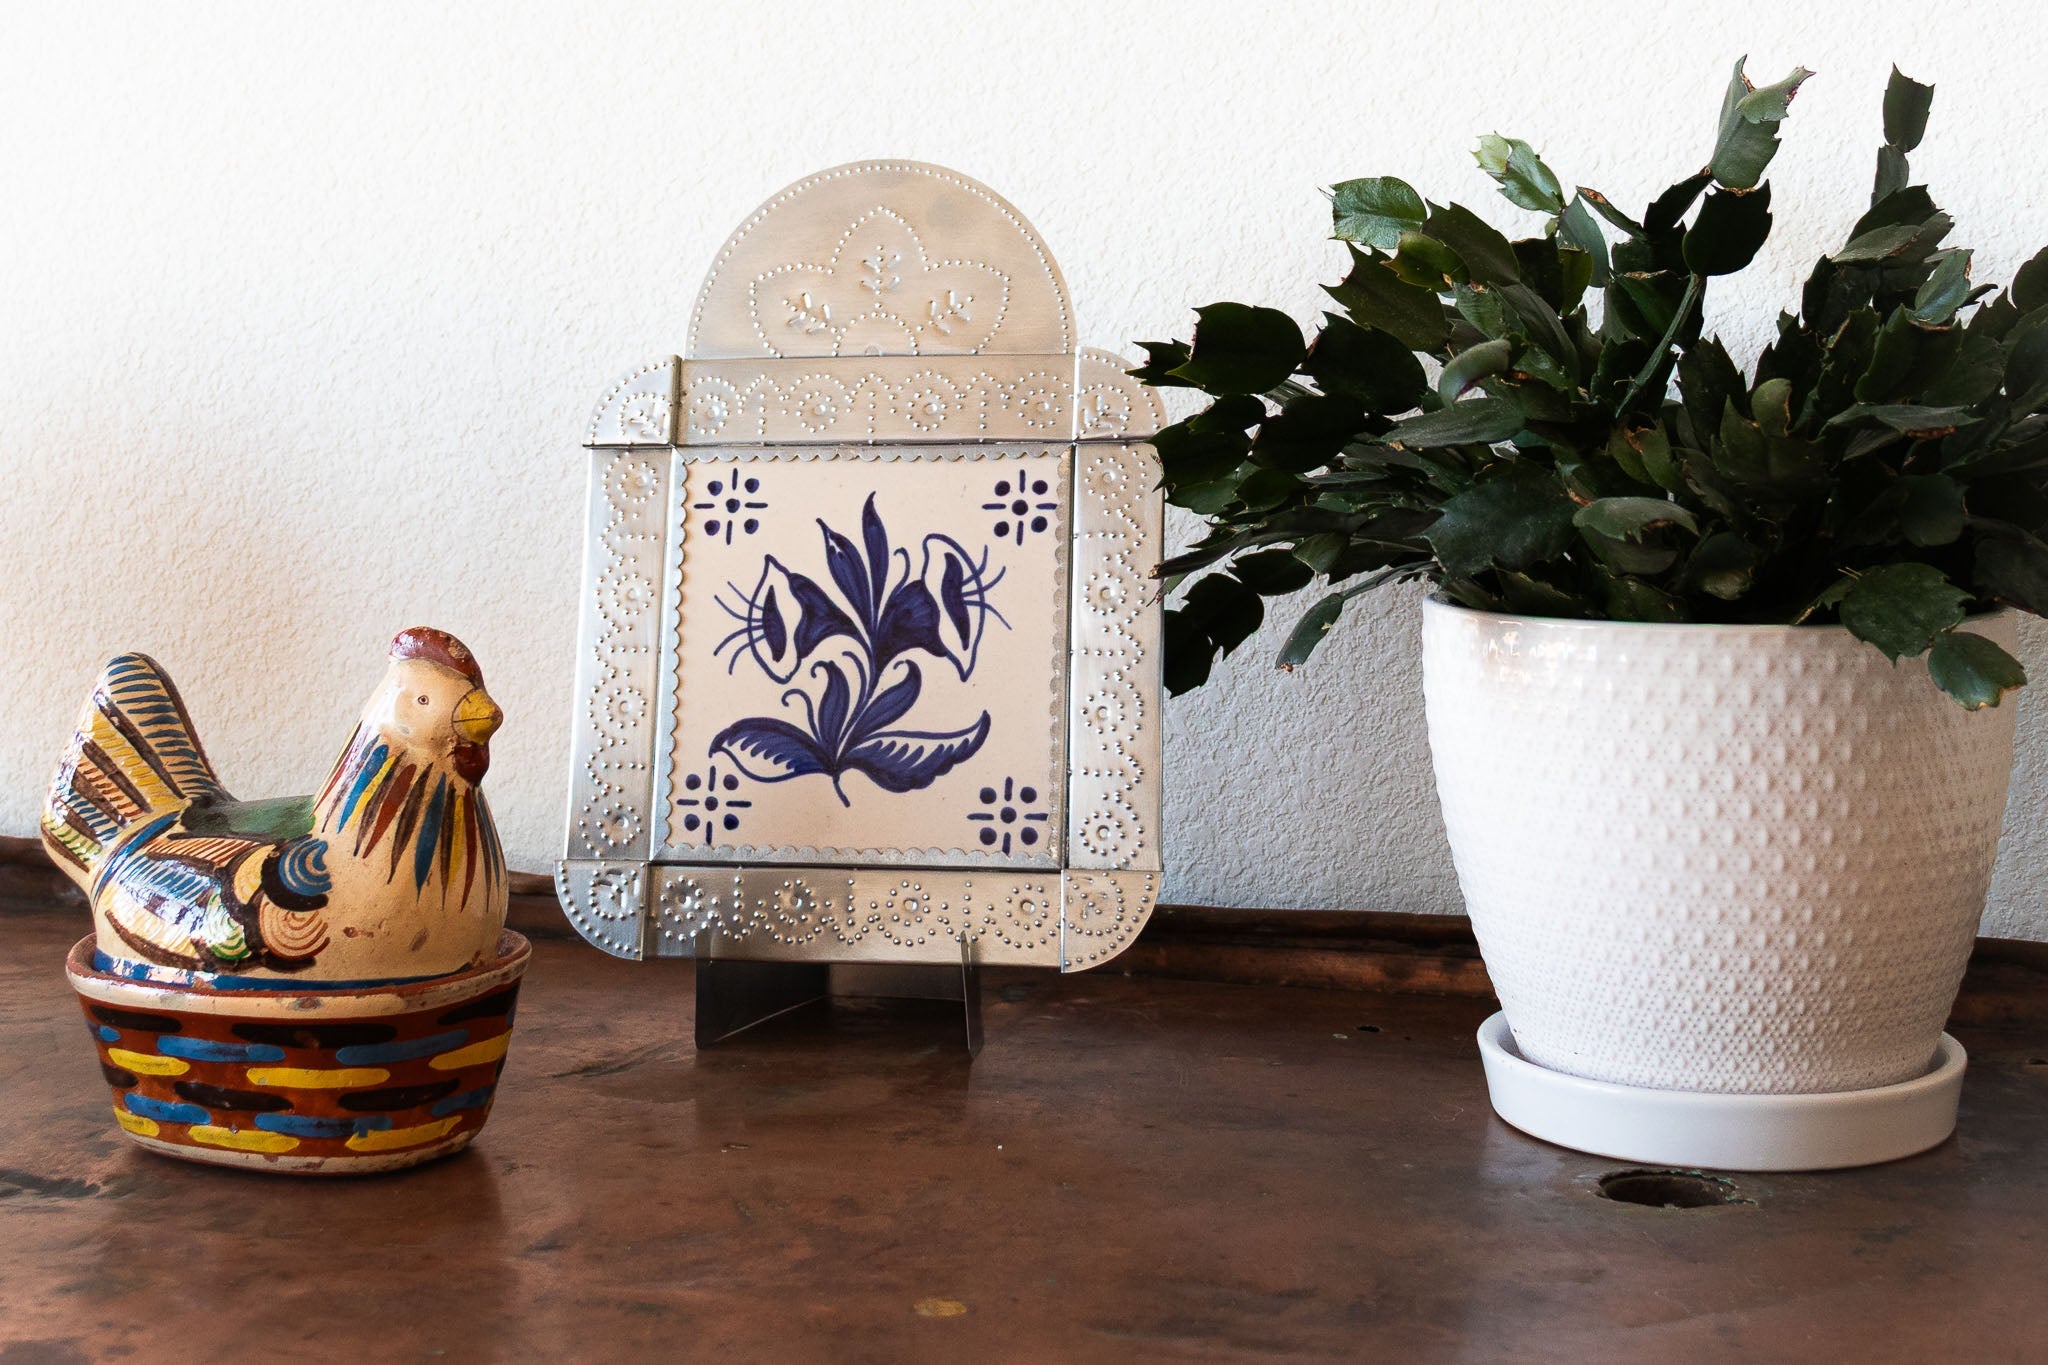
The journey begins with inspiration. I often start by exploring markets or antique shops, searching for pieces that speak to me—like the hand-painted Portuguese tile featured in one of my framed pieces. My Mexican, Spanish, and Portuguese heritage profoundly influences my designs, with patterns, shapes, and textures rooted in these traditions.
Sometimes, inspiration strikes unexpectedly—a particular color, a motif from nature, or even the patina on an old piece of metal. The calla lily inspired the frame edge in this piece with flowers. From The Mexican House Old and New, I drew upon the egg and dart design of a Michoacán light fixture to shape the frame's structure. The Handbook of Ornament also guided the inclusion of bead moldings enriched with leaf patterns. These inspirations were carefully adapted into my design, blending traditional motifs with my unique creative perspective.

Step 2: Gathering Materials
I work with metal flashing, an accessible and versatile material that serves as the foundation for my designs. Other essentials include solder, flux, steel wool, and tools like tin snips, punches, and a hand sander. I'll also source tiles or other decorative elements that add character to framed pieces. The most recent collection features hand-painted tiles, but I've also used original block prints.
Each piece is thoughtfully planned to minimize waste, but some material loss is inevitable during fabrication. For example, I reuse scrap metal from larger projects to create smaller decorative accents or test new designs, ensuring minimal material goes unused.

Step 3: Designing the Piece
This is where the magic happens. I begin by drawing out the finished dimensions of the framed design using SketchUp. I then start to fill in the frame components with a design. As I go, I consider how traditional patterns can meet modern aesthetics. For a framed tile piece, I create a design that complements it without overpowering it.
Once I've finalized the design within SketchUp, I send it to LayOut. This allows me to scale the design and print out a full-size pattern. Before I glue the pattern to the metal, I sand and prepare the metal flashing. I find it better to polish the metal before cutting it out. I glue the pattern to the metal flashing and cut the metal. The pattern is placed on the back of the piece. I hand-punch and score the design printed on the pattern to complete my vision.
As I develop a new design, it can take up to three iterations before I have a design that feels complete and fulfills my vision.
For instance, my framed tile piece with the egg and dart design required multiple trials to balance the intricate edge detail with the simplicity of the central tile. Each iteration allowed me to refine the proportions and ensure the final piece aligned with my creative vision.
Step 4: Assembly and Finishing
With the design punched and completed, I moved on to construction. I use a metal folder to bend the material, creating the structure of the frame. After cutting and shaping the pieces, I solder them together for durability and a clean finish.

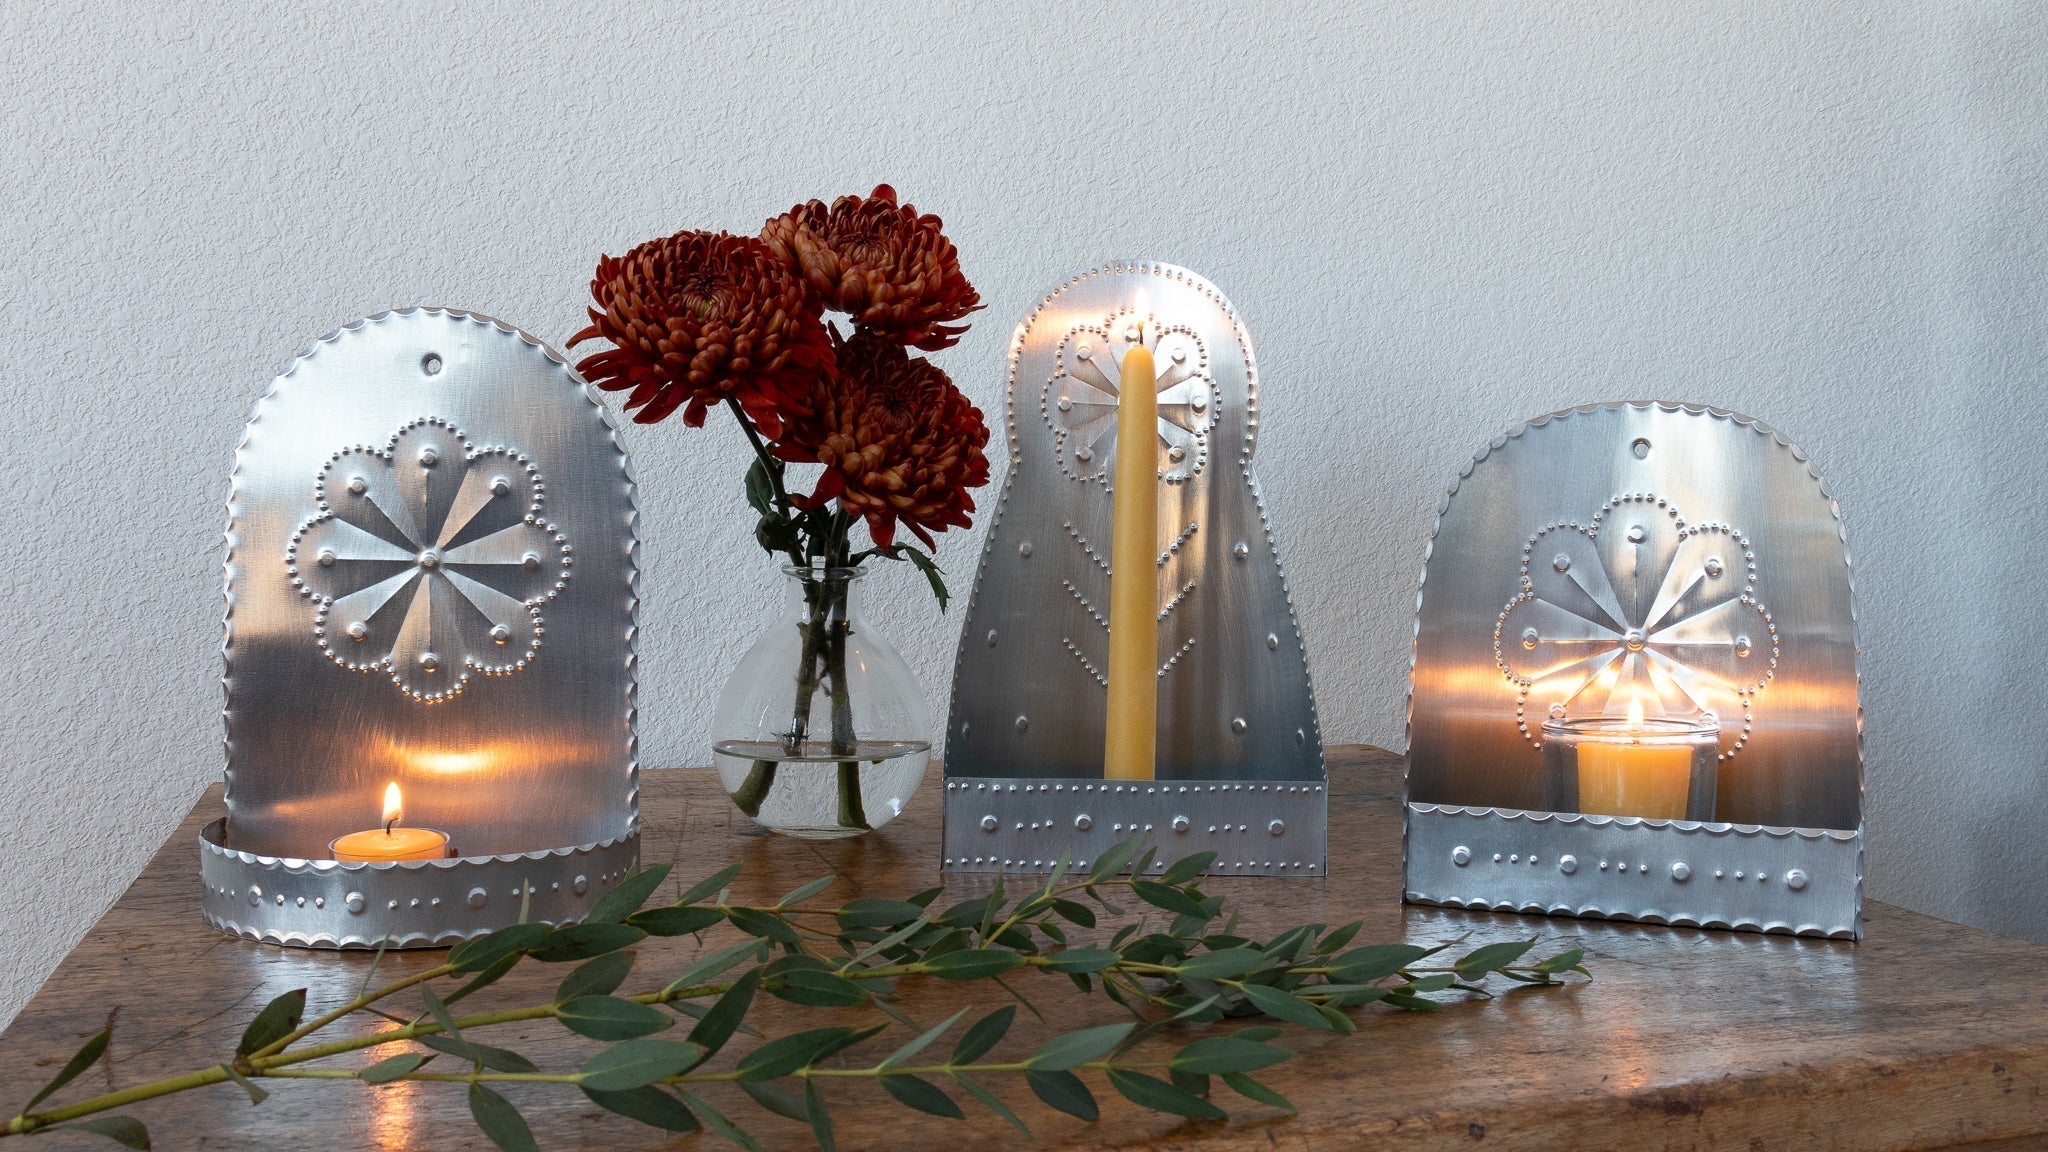
The final steps include sanding the surface to achieve a smooth texture and adding patina where desired. I love how the patina evolves, giving each piece character and depth. Customers have shared how they enjoy watching their tinwork change subtly over the years, adding a sense of history and personality to their homes.
Step 5: The Finished Product
The result is a one-of-a-kind work of art that blends traditional craftsmanship with modern design. For example, my large framed tile piece features a 5.5" x 5.5" hand-painted tile set within an 8" x 10.75" metal frame with a crowning lunette.
Each piece tells a story that begins with heritage and ends in your home.

Closing Thoughts
Creating tinwork is more than a craft; it's a way to honor traditions while bringing something fresh and modern. This glimpse into my process helps you appreciate the thought and care behind each piece.
If you're curious to see more or want to bring one of these unique pieces into your home, explore the Modern Tinwork Collection. And don't forget to subscribe for updates on new designs and behind-the-scenes stories!

Comentarios